Full Internet Access via Safous
It's possible for Safous ZTNA Service to allows users to access all internet traffic through the App Gateway which leverage the Safous agent to be installed in end user's computer and creating a network application in the Admin Portal.
There might be a time where customer want to monitor or audit internet traffic of the users by creating this kind of “tunnel” application. Please note that once you create this type of application and grant users access to this application in policy, they will have access to the entire internet via the App Gateway but you will not be able to create any particular website exception that excludes users from certain sites.
Create Network App
If you aware on the limitation what this "tunnel" application can given you, then you can proceed to create the application by following these steps:
-
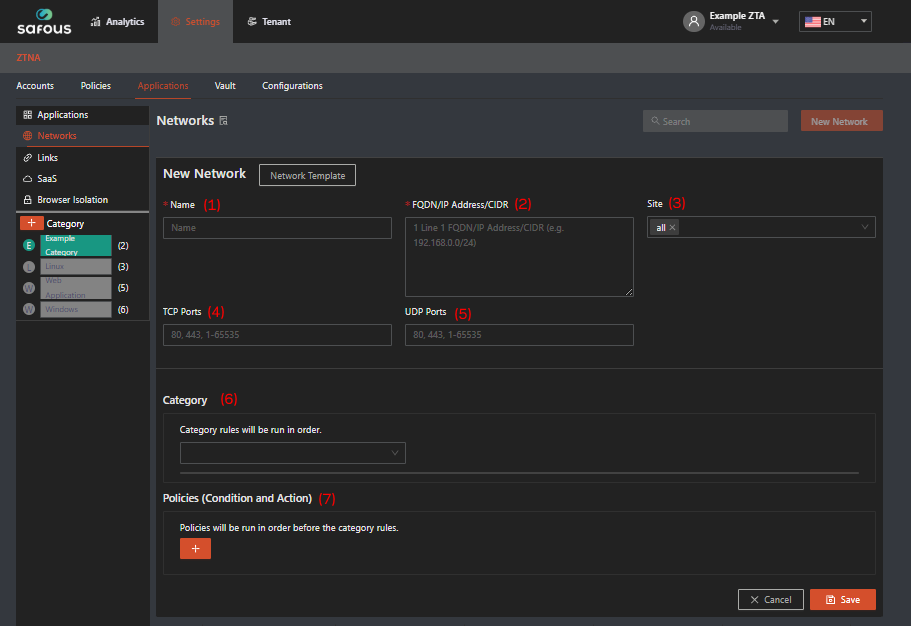
Navigate to Settings > ZTNA > Application > Networks
-
Click New Network, then fill in the fields as follows:
-
Name: Enter a unique name for the application (this is a required field).
-
FQDN/IP Address/CIDR: Address of the application. Fill it in per line basis with 0.0.0.0/1 and 128.0.0.0/1, which represents the entire spectrum of all websites on the internet

-
Select Site: The site on which App Gateway the traffic will be "tunneled". It is optional as you could leave it using "all" but for multisite deployment it's recommended to choose a specific site.
-
TCP Ports: Specify the TCP ports that can be accessed by the user.
- Fill it with 1-65535 to cover all ports;
- Or you can limit it to specific ports only (e.g. 80, 443)
-
UDP Ports: Specify the UDP ports that can be accessed by the user.
- Fill it with 1-65535 to cover all ports;
- Or you can limit it to specific ports only (e.g. 80, 443)
-
Category: Select the list of categories to associate with the application.
-
Policies (Condition and Action): Define the policy to be applied to the application.
- Accounts: Define the entities that should be applied to the policy.
- Condition: Select the access condition that should apply to the policy from the list of available conditions.
- Action: Select the configuration that should apply to the policy for the network application from the list of available actions.
- Status: Set the status of the policy. Toggle on to enable, toggle off to disable
-
-
Once all the fields have been filled out, click Save.
Verify "Tunnel" access
-
Login to your tenant's user portal with a user account that has been authorized by policies to access the network app.
-
Click on "Download Agent"

Once clicked, it will show options to download the agent based on the user's OS. For the general information of the agent, please check in here
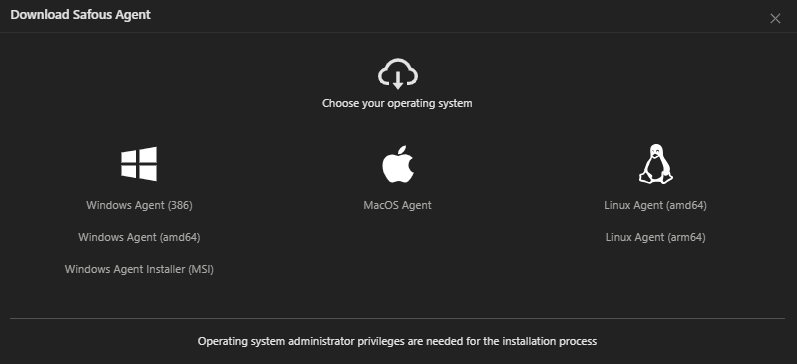
Download the agent from one of the options.
-
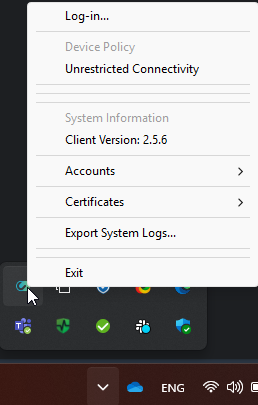
Install the agent on your machine. In this example, we are installing it on a Windows machine.
-
Once the installation has been done, click on the system tray to find the agent icon and click it. Click the Log-in option.
-
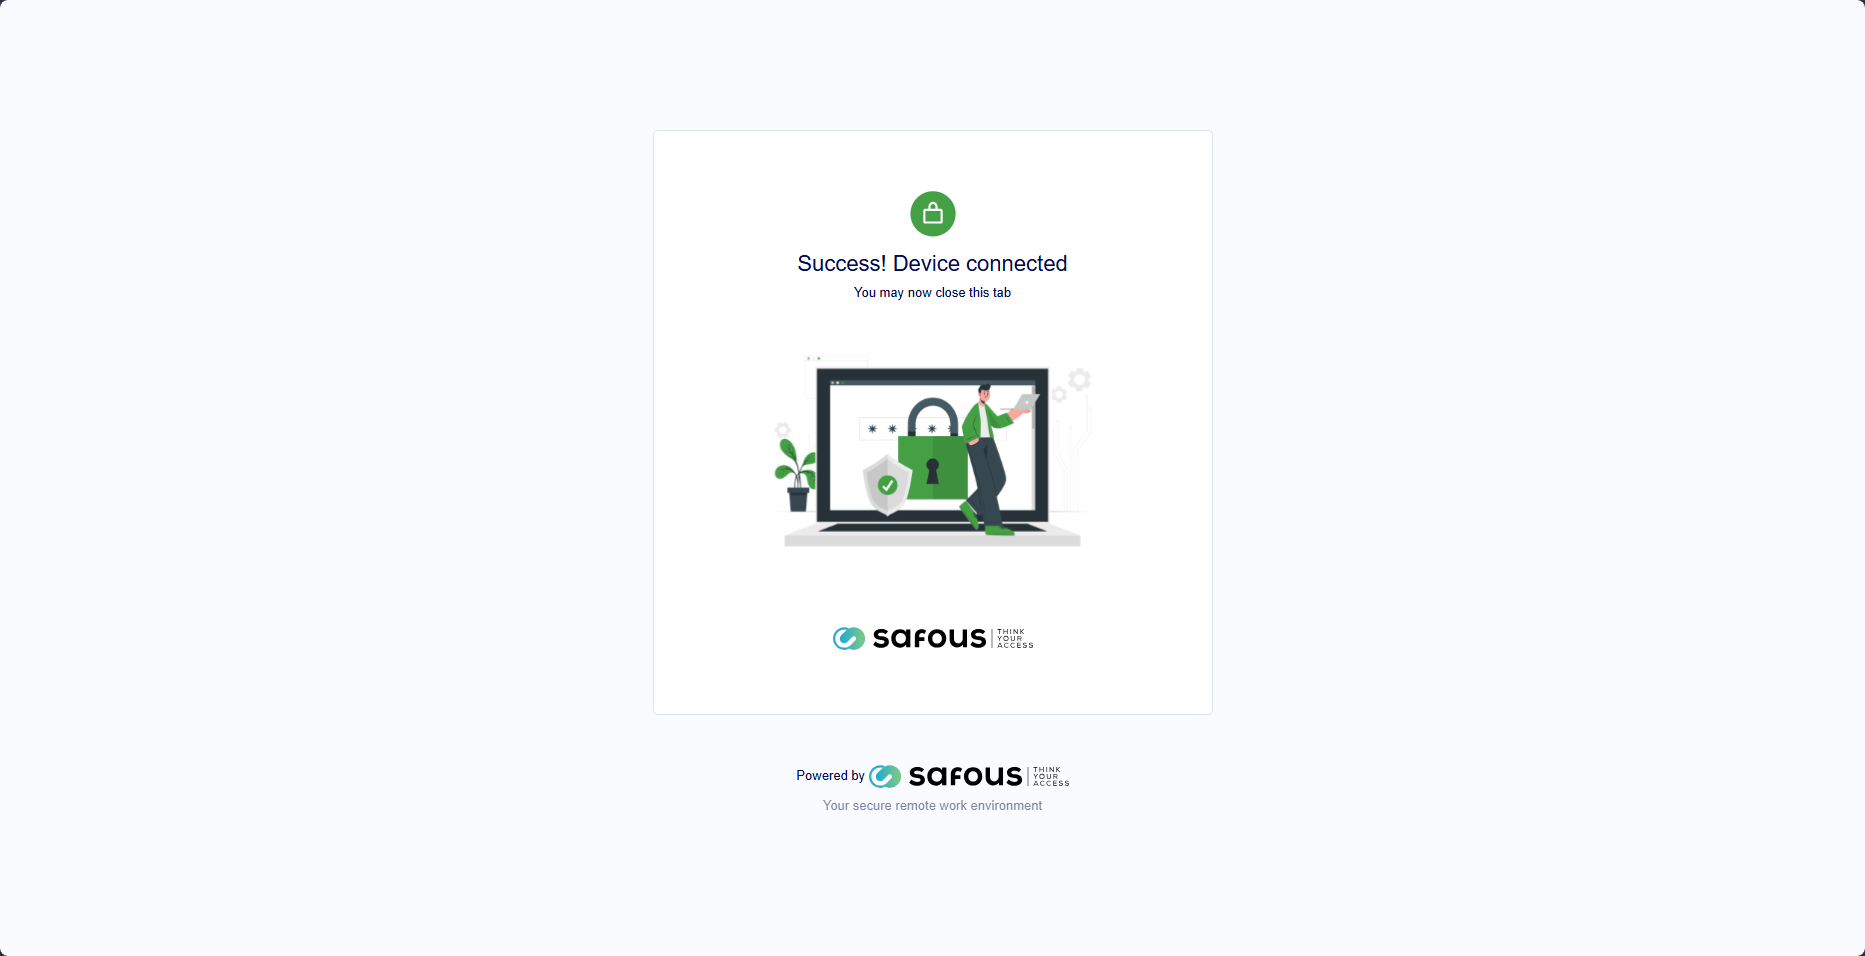
Since we already logged into the user portal to download the agent, we will be logged in on the agent with the same user and are now connected to the agent
-
Open a new tab in your browser and verify whether your internet access now has already been "tunneled" through App Gateway or not by accessing https://www.whatismyip.com/ or other public website that can detect your public IP address and compare it with the public IP address that is being used by the App Gateway.
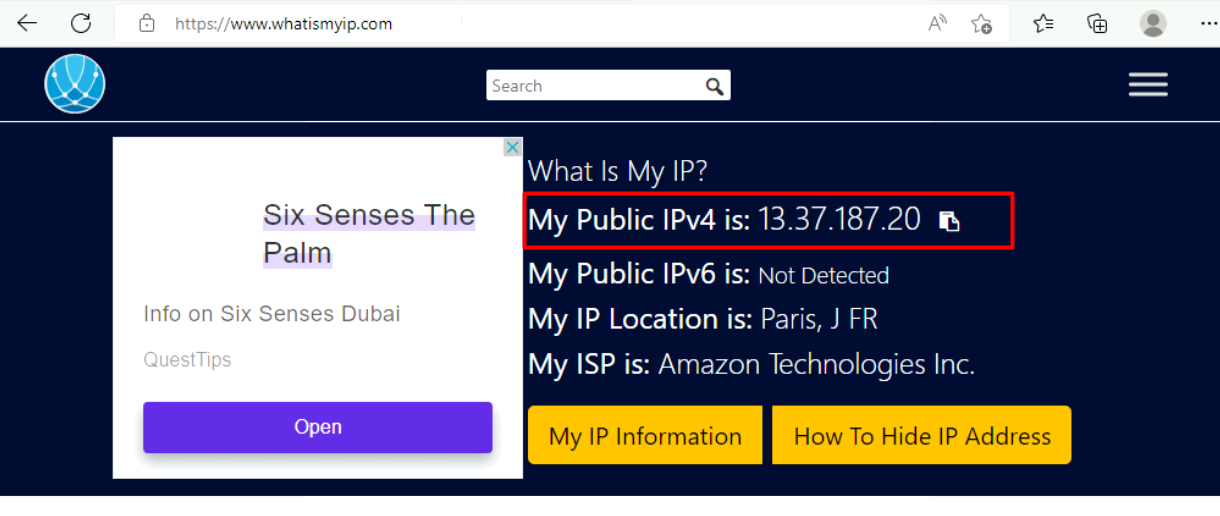

If it matches then your internet access is now fully "tunneled" through the App Gateway.