Access Controls
Overview
At times you may need to share secrets stored in the vault with other users within your organization. Safous supports this functionality in a secure, robust manner.
Configuration
-
Log in to the Safous Admin Console.
-
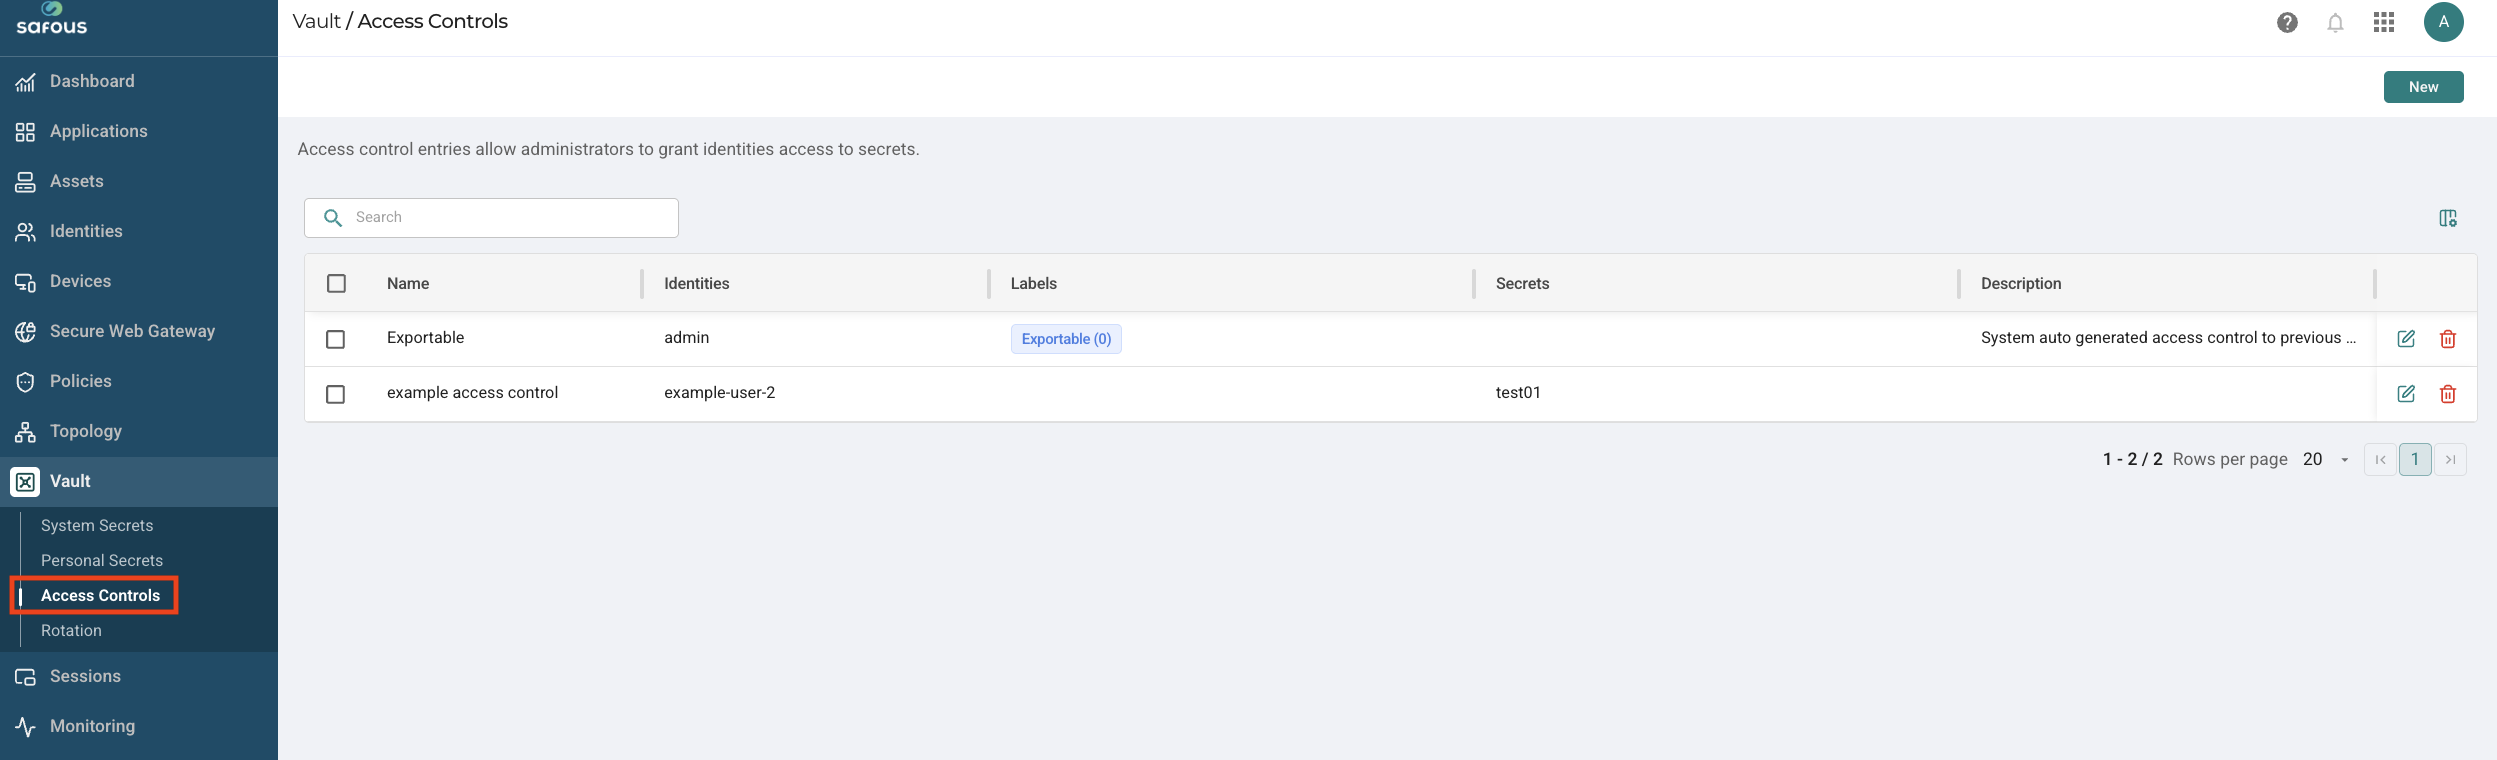
Navigate to the Vault > Access Controls page.
-
Click the Add button at the top right side.
General Information:
-
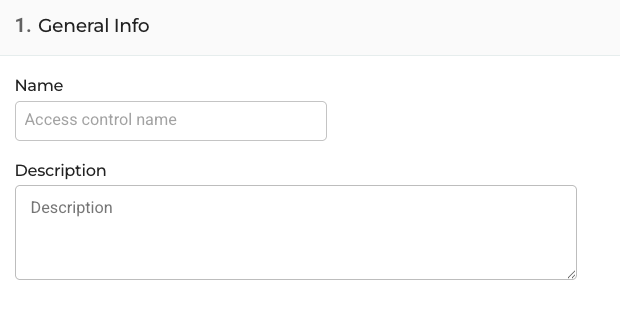
Name: Enter a descriptive name for the access control. This helps in identifying the purpose or the
resource it is associated with. -
Description: Provide a detailed description of what this access control is for. This can include information about the type of access, the resources it controls, and any other relevant details.
Identities:
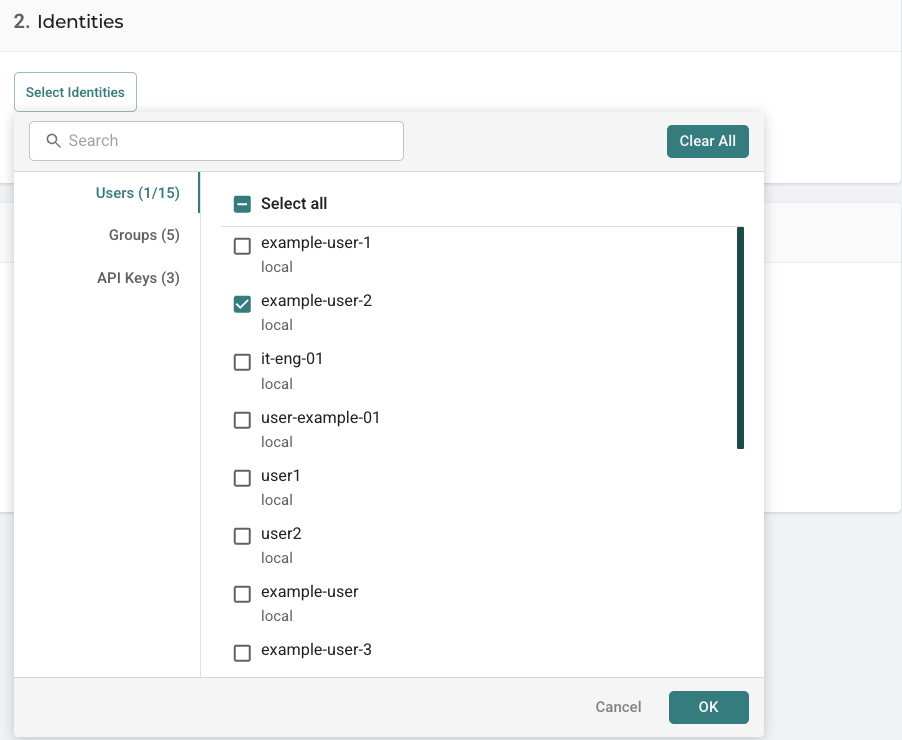
In the Identities section, select the users, groups, or roles that will have access to retrieve the secrets. You can add multiple identities based on the structure of your organization.
-
Click the Search bar and select the user/ group/ API Key that should have access to the secrets.
Labels and Secrets:
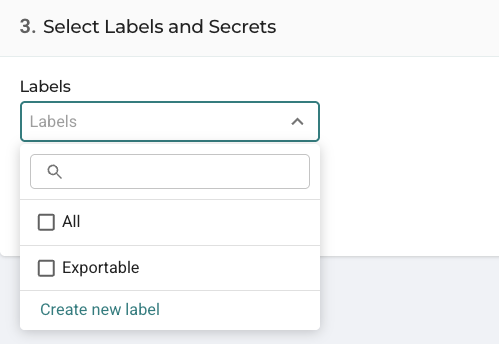
Use the Labels section to add labels that help categorize and manage your secrets or resources this access control will manage. This step is optional but can be useful for organizing the secrets.
-
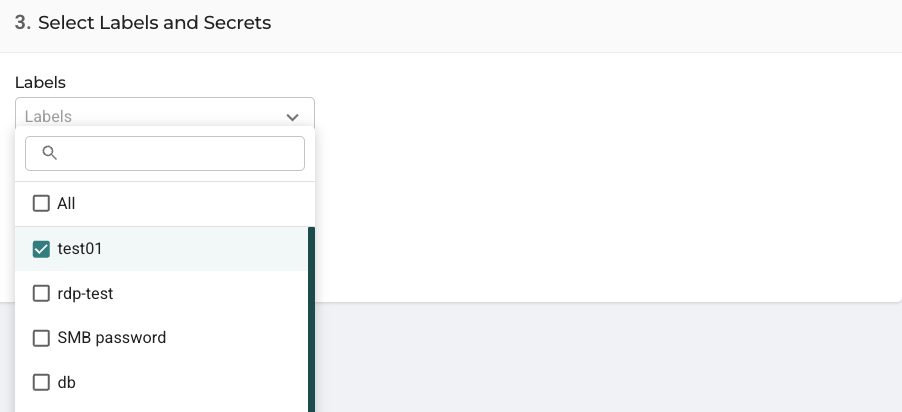
Click the Search bar to select a label from the existing list.
-
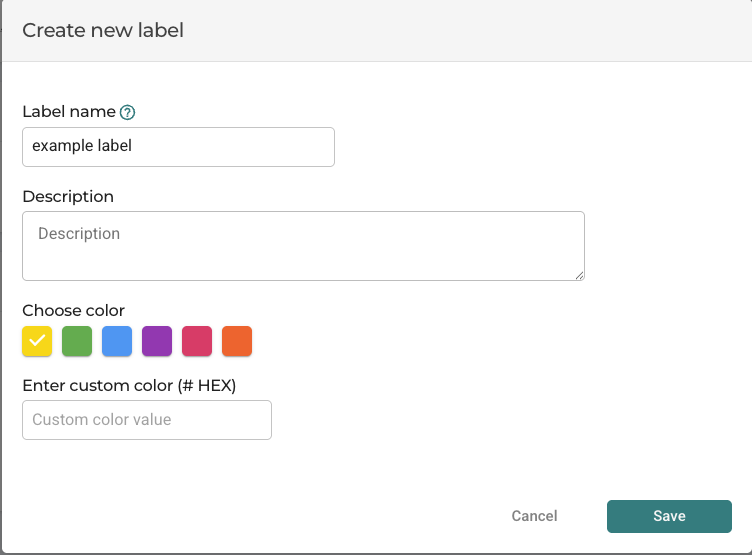
To create a new label from this window, click the Create new label button. On the Add New Label window:
-
Enter a label name.
-
Enter a description of the label.
-
Choose a colour from the palette, or enter the colour value for a custom colour.
-
-
-
You can also set specific secrets to be shared with the configured identities by selecting it from the Secrets dropdown menu.
Click the Create button to save the new access control configuration.
Viewing Secret
To view a secret:
-
On the user/application portal, click the profile menu and select System Secrets.

-
Click the Preview icon at the far right of the secret row

-
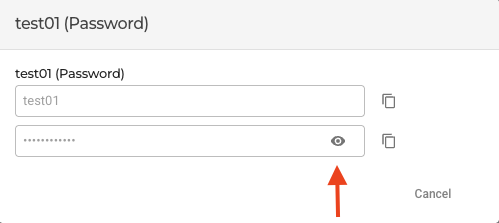
click the View icon to reveal the secret. You can also copy the secret without revealing it by clicking the copy button.