Categories
Overview
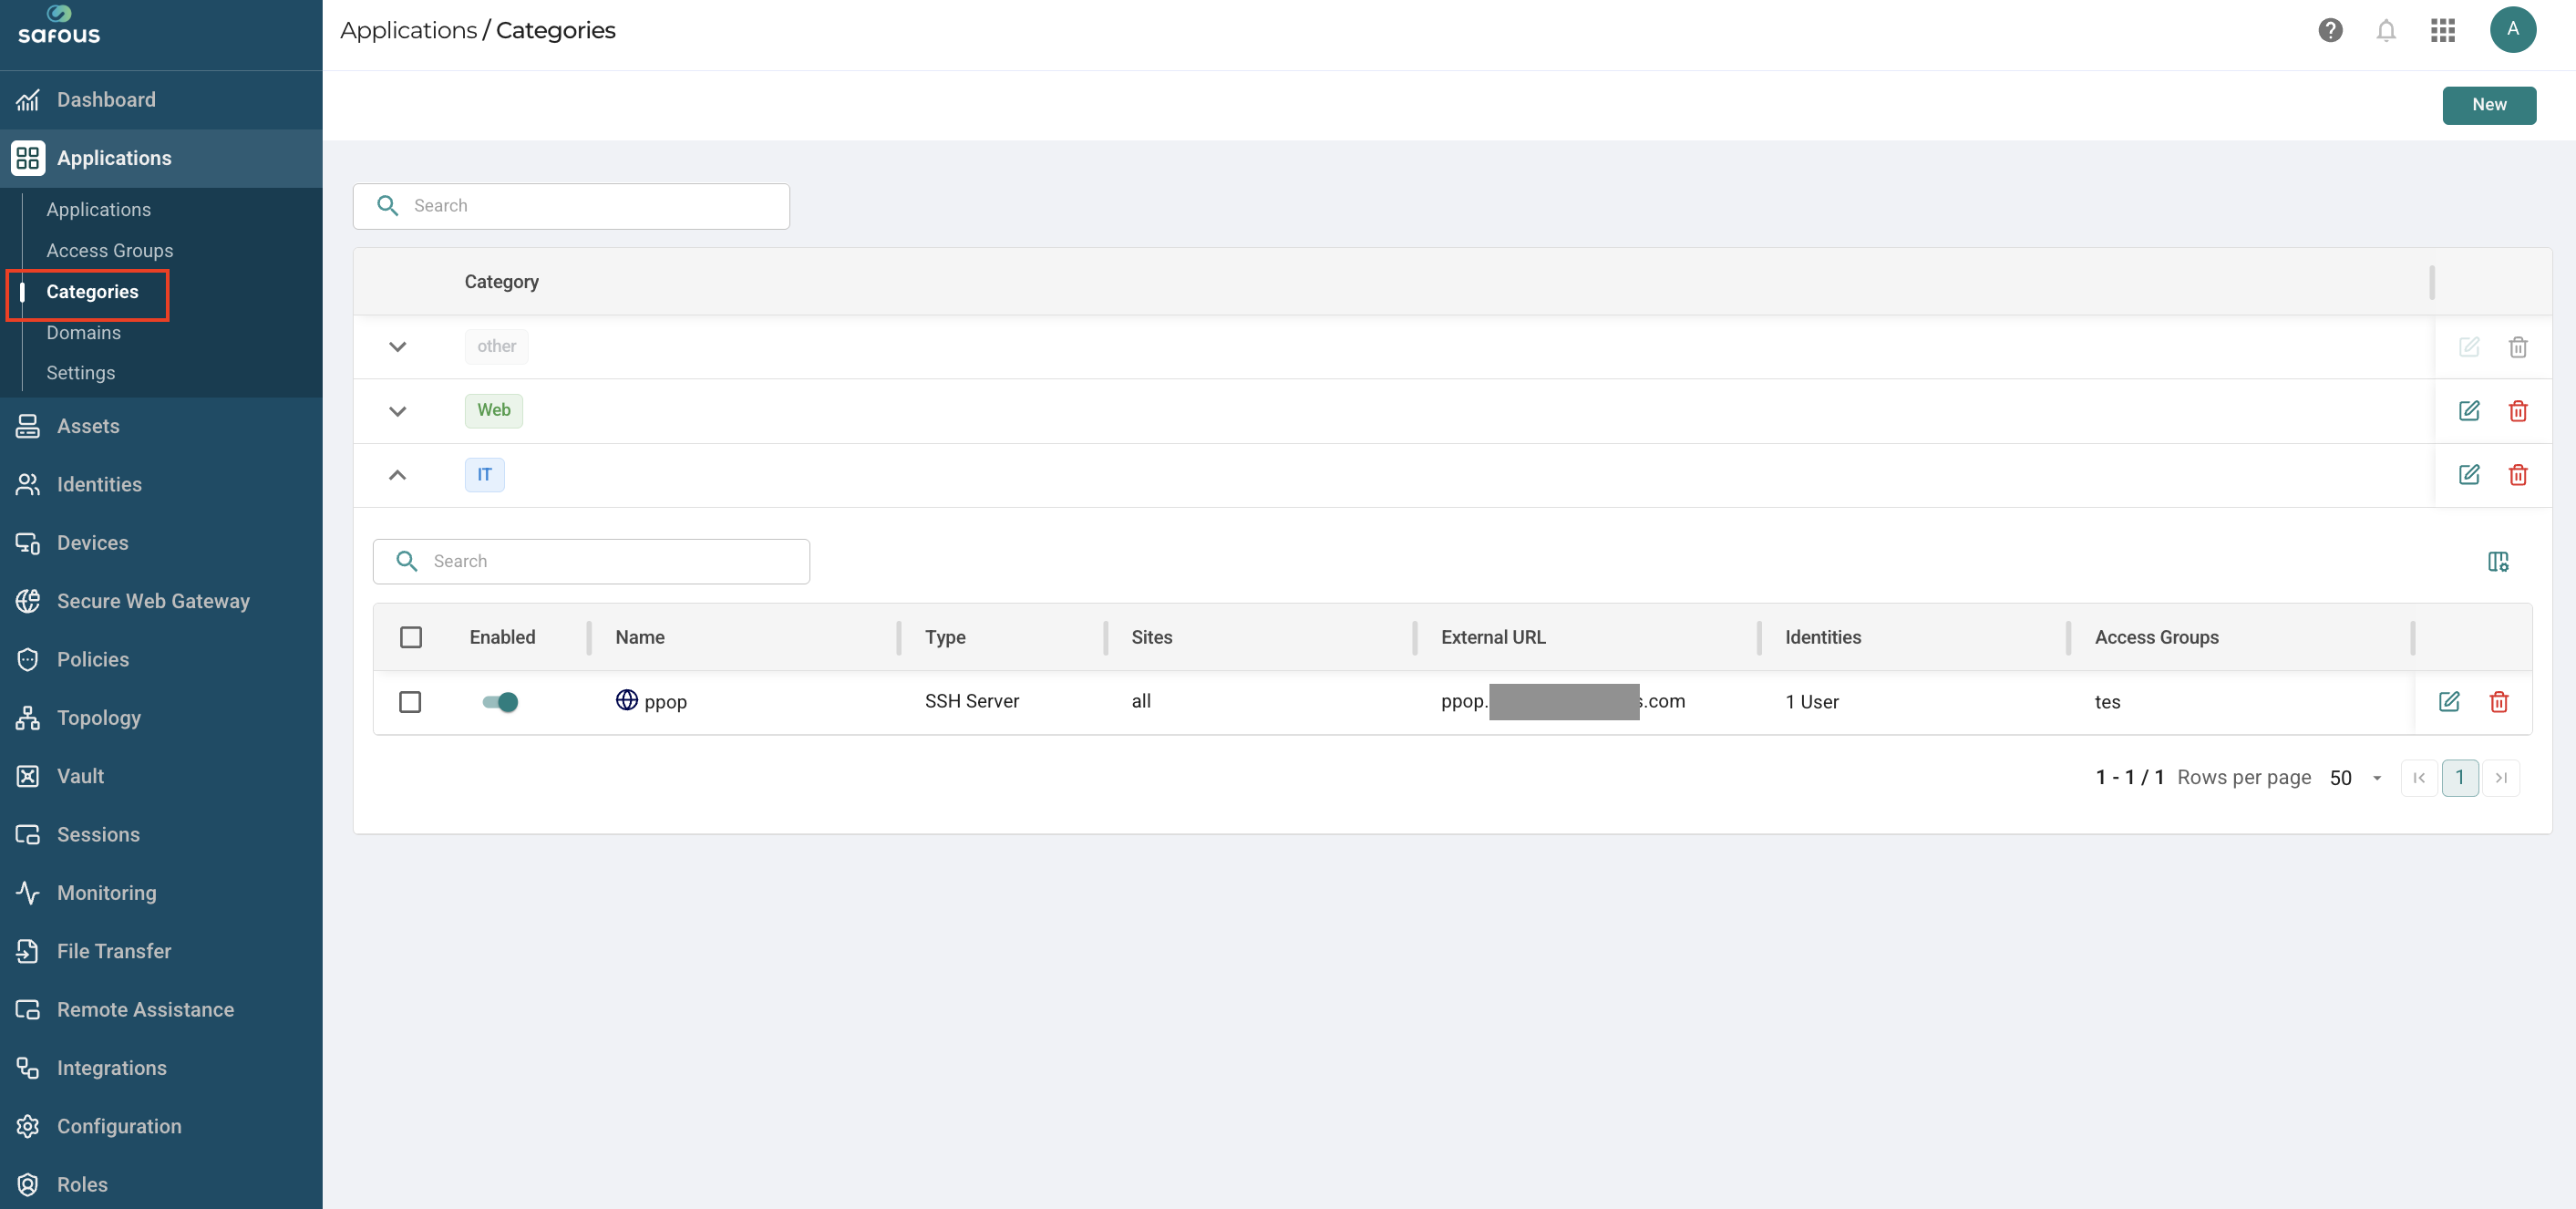
Categories are used to group applications for display in the Applications Portal.
The Applications Portal displays all applications to which the user has access. If an application belongs to multiple categories, it will be listed under each relevant category.
Use the Admin console to create categories and assign applications to them.
Categories Migration from Previous Versions
7.0 separates two concepts that were previously combined:
-
Categories will now be purely for organizing how apps appear in your portal.
-
Access Groups are a new concept that handles who can access what (details here).
Here's what happens to your existing categories:
| Your current category looks like... | What happens |
|---|---|
| Shown on portal, no rules | Stays as a category, no change |
| Has rules, shown on portal | Gets converted to an access group AND stays as a category |
| Has rules, not shown on portal | Gets converted to an access group, category is deleted |
| No rules, not shown on portal | Gets converted to an access group (empty), category is deleted |
All migrated access groups will be labeled "Migrated from category [name]" so you can easily identify them.
Adding Application Categories
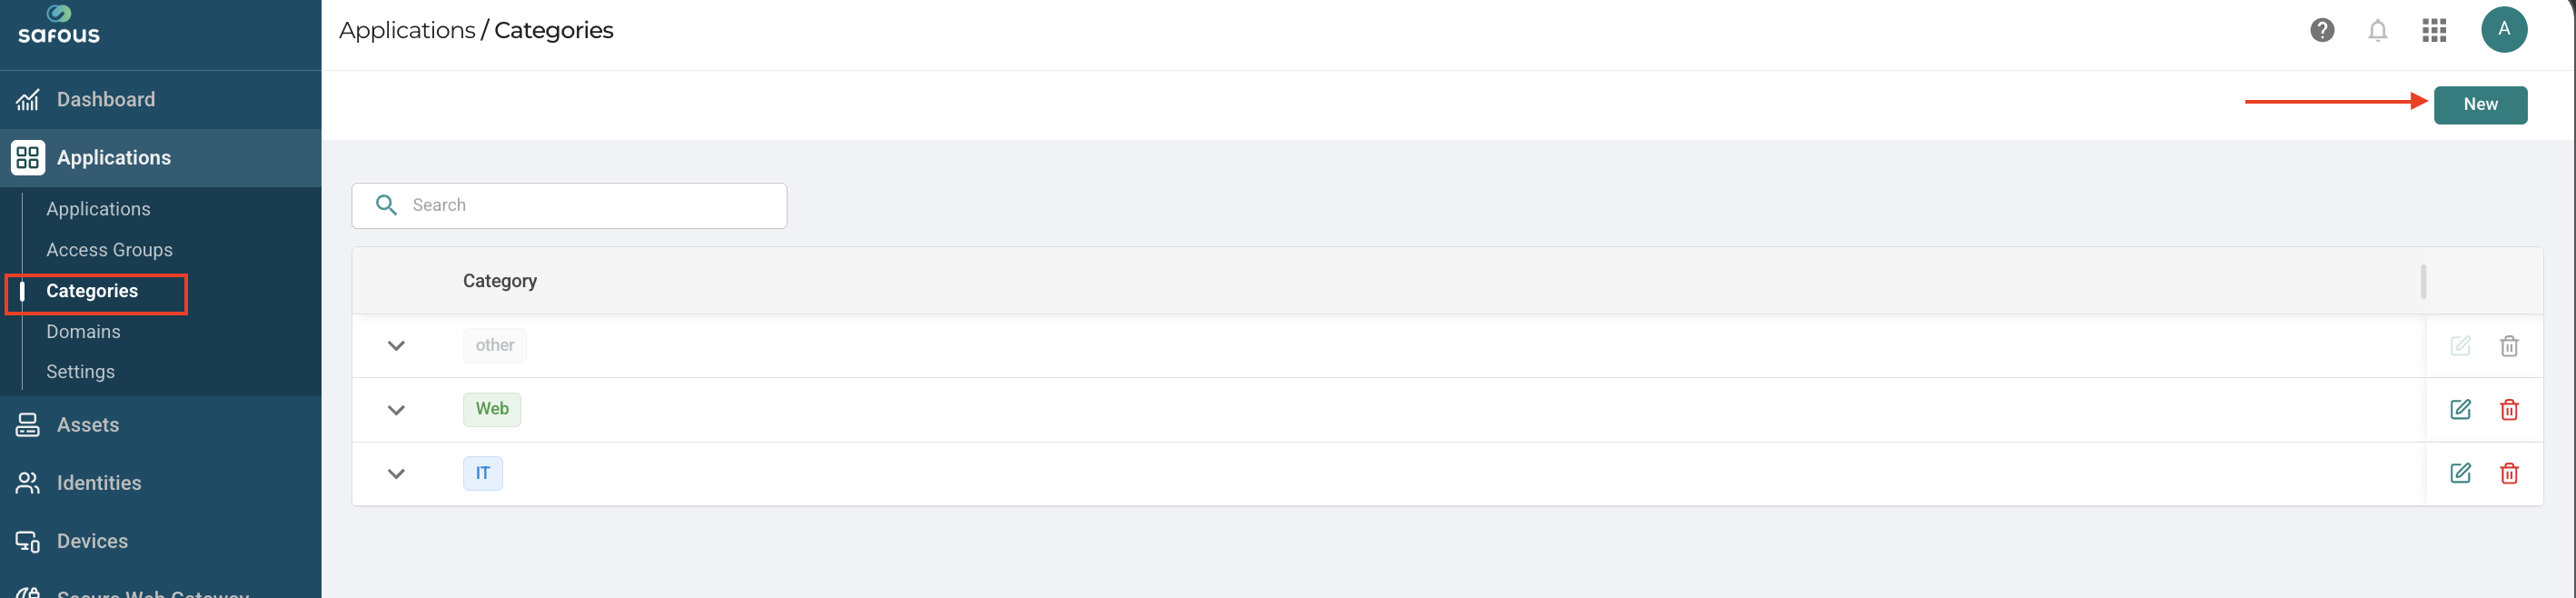
On the Categories page, click the New button in the top right corner of the screen.
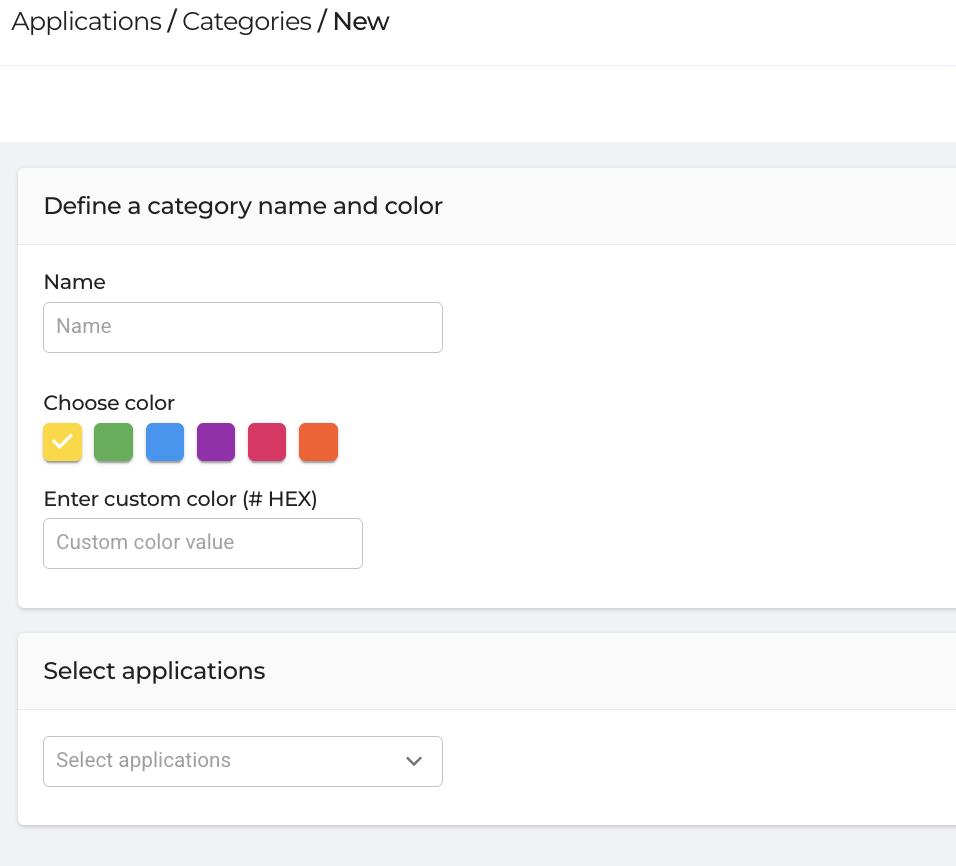
Define a category name and color - Enter a name for the category and choose a color from the palette displayed. Or enter a colour scheme in the box, like in this example: #2C001E
Select applications - Click the drop-down and select the applications that will be members of this category.
Click Done to create the category.